|
John Fisher (Jon Tirone) "Always ask, "Isn't there some better way to do it?"
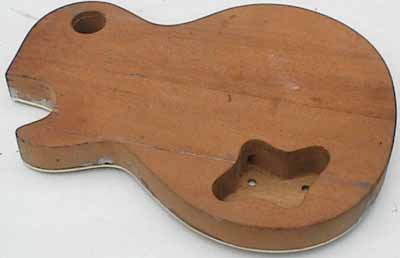
I didn't have any templates to do the routing so I did a lot just free hand and at times I used a chisel. I have in the past made cavities successfully by just drilling holes and using a chisel to dig it out. Although this works ok, having a router and some template does a quicker and better job.
I did find it necessary to make a crude template out of some thick acrylic for the neck cavity. This is important because how the neck joins the body is critical for good strength, good sound transmission and to have the neck at the proper angle to the body. The pocket should be a little narrower then the width of the fret board and neck. Assuming that this area of the carved body is flat (important) I temporarily screwed the template to the body very close to the hole. The screws need to be close enough to the hole so that the fret board will later cover the screw holes.
Here is a rough illustration of the neck and how it is shaped to fit into the body
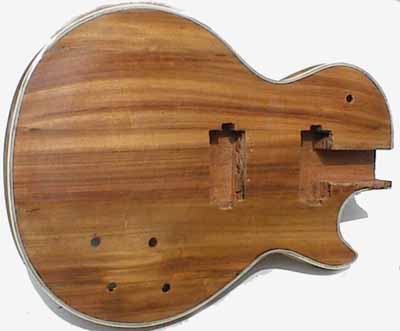
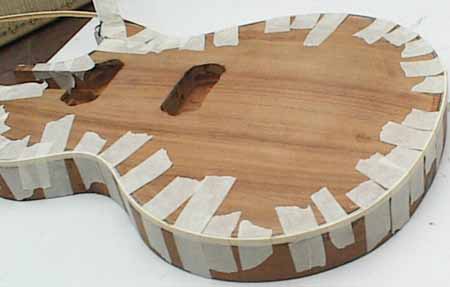
Here is the back where the cavity for the pots will be. I first drilled out the area that I was going to rout with a large drill bit to make it easier on the router. Because the back was going to be black and you were not going to see the wood, I used auto body filler to fill in any holes or flaws.
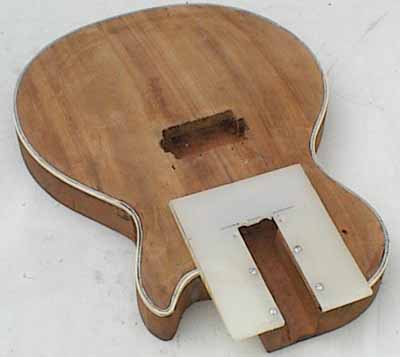
Here are the cavities routed out. Not shown is an extra ledge I will rout out around each opening for the plastic covers to fit in so that the plastic covers will be flush with the body. One dilemma was the thickness of the wall between the cavity and the carved top where the pots go. It is common practice to use pots with extra long threaded shafts to go through the top. It was wisely pointed out by Paul Gambon that if the wall is too thin it could crack the nice carved top if you ever need to remove a stubborn knob from the pot. Unfortunately those types of pots with the long threaded shafts were not readily available to me so I thought of a workaround (I hope). After getting the wall thin enough to mount a normal pot which are readily available, I put a thin sheet metal plate at the bass of the cavity and then drilled the holes where the pots will go. This metal plate "should" give the thin wooden wall the added strength it needs to use normal pots. Binding "The normal reaction to a new idea is to think of reasons why it can't be done."
Doing the binding is one of the more difficult things for me. I was faced with a dilemma as, plastic binding for guitars just doesn't exist here in this country. I wanted to make multi-striped binding and I happed to have a bit of it that I got from "Stewart McDonald" a while back but I didn't have the main thicker piece that goes on the out side .
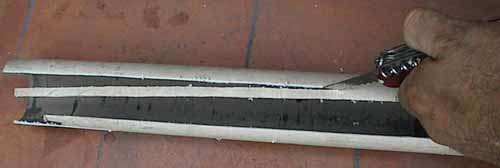
I know you are going to think I'm weird and I don't recommend it, but out of desperation I just cut up strips of PVC plastic from a sewer pipe that was sitting around for the outside binding. Like I said before, "necessity is the mother on invention".
Here I am cutting up strips of PVC plastic with the saw on my trusty Swiss Army Knife
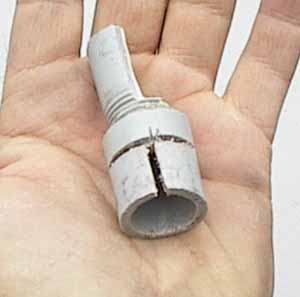
Note about Binding Materials Most binding materials are made of Celluloid Nitrate which is extremely flammable and almost explosive. When using the PVC plastic on my bindings I had to use a candle to carefully heat it to bend it around the cutaway section of the body. You must not use a candle for Celluloid Nitrate plastic as it will violently burn up. Making the Binding Channel Another problem was to accurately make the binding channel in the curved top. There is a neat little device available from Stewart McDonald for doing this but I didn't have it so made up a quick invention. I want to say that my invention is not near as good as the more conventional methods but it still worked. (See below)
I made this crude device out of pieces of PVC pipe glued together with super glue. It will fit on the end of my Dremel tool. The slots are cut out so that when the clamp is put on, it will clamp tightly to the Dremel tool. I had to practice a lot on scrap wood till I knew it was going to work properly.
Here it is on the Dremel tool. It's hard to see, but there is a small cutter in the center that is adjusted to cut the depth of the binding channel. The tang is what determines the width of the channel cut. It can be adjusted for a smaller width cut by rapping tape on it. This works reasonably well but the main problem was to make sure it's clamped fit didn't wiggle around while in use.
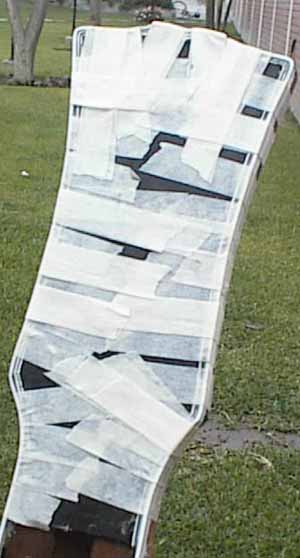
Here is the binding being glued on the head and held on with masking tape. It was tricky using PVC around the intricate shapes of the body and head. Since I had to heat the PVC separately from the Celluloid binding, I had glued the binding on in 2 separate operations. This is not ideal but it worked. I glued the binding with household acetone based glue. (Known in the USA as "Duco" I think) I made the binding slightly wider then the binding channel then I shaved it down to size with a scraper. I would like to express to anyone reading this that it really helps to use the correct type of binding material as it will be easier to work with and turn out better. I only did things this way because I had no other options at the moment and I wanted to experiment. |